Proudly Canadian

Proudly Canadian

Tuesday, November 11, 2014

Getting creative with Christy Riopel...Part2

I'm back to finish off blogging my last pages from my weekend classes with Christy.  I had myself some quick brunch and back to it.  Lots to remember with all we were taught, so I'm refreshed and ready to go.  :)  So, 'Let's a go!'  in my Super Mario voice.

This next page is a really cool technique.  Paper folds!  Love it!  Super simple but what a neat effect.  Take paper and create folds.  Then seal it down on the page with matte medium manipulating the paper to keep the folds prominent.  When dry, add spray inks or in this case we used Twinkling H2O's!  Finally, another use for them.  I keep forgetting about my little pots of joy.  Smoosh color on the page and add water and let the color run and drip and ooze all over the place collecting in the wonderful seams and pockets and let dry.  I used a heat gun to speed up the process.  Then, another great technique... tissue paper!  Stamp an image on tissue paper and cut it out roughly and seal it down again with a matte medium.  Reminds me of making my own TH version of tissue.  Once sealed down you barely see the seam edges.  The one note I have to myself is this, use a medium that isn't a high glaze base cause the wateriness of it reacts with the color and caused some smudging when I sealed down the images.  I'm going to have to play with my different brands and see what works best, and use a dry brush not one that has any dampness to it.  Again the water thing!  DOH...the page seemed kind of empty so I added some black painted circles and white highlights for a bubble effect.  I'm still not 100% satisfied with this page so I may come back at some point and play on it some more.  Still too much empty space for my liking.


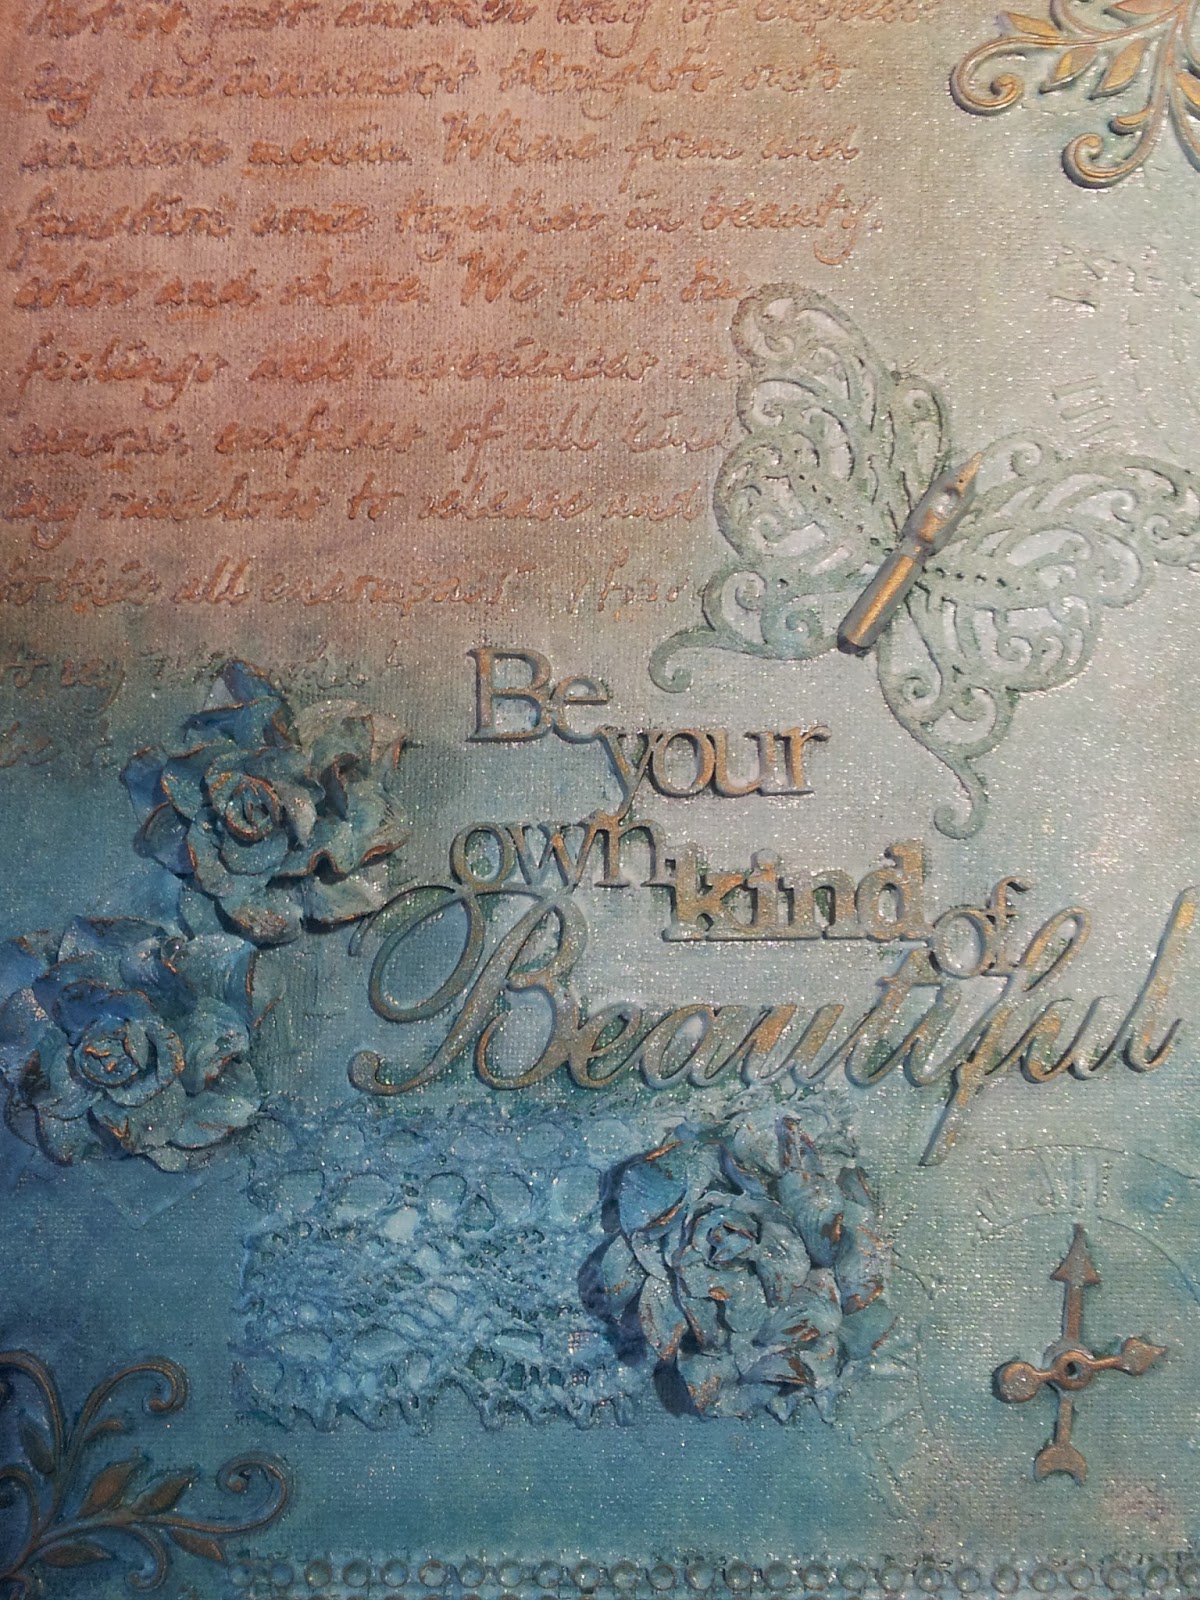
Vaseline!  Yeh,,, that is what I thought.  HUH???  Vaseline?  I'm going to have to practice this a bit more I think.  Interesting technique though.  So, first off paint the page with whatever color of paint you want.  Then we were told to smear stripes of Vaseline down the page in areas with a honey like thickness of this goop.  Then in single swipes spread an even coat of gesso over top and dry.  I think of like when applying crackle paste, do not swipe more than once.  The Vaseline acts like a resist and when the gesso is dry use a paper towel to wipe away the gesso and Vaseline and you have this rustic smear effect on the page with the color coming thru.  Kinda cool!  I am far from an expert at this technique but will have to attempt to try it again.  Need to get some Vaseline I guess.  Then we added some color to the bottom of the page with distress ink and smudged it with a baby wipe.  I got a little over zealous with my ink and baby wipe and created too much color, but oh well...  the butterfly was done by drawing it onto a loose paper then on the back side taking torn strips of patterned paper and gluing them down to create a uniquely patterned butterfly.  Once dry, flip over and cut out the shape and adhere to the page.  I used gelato's to smudge around the butterfly.  Add some background stamps and a saying, then molding paste with a stencil for some textural effects.  My paste disappeared and is hardly noticeable especially over the distress inks cause it bled thru the paste and the image basically disappeared.   This is probably my least favorite page but with that being said, practice makes perfect or at least better.  LOL  I will attempt again and see what I come up with. Christy's page looked so great!


This next page is so simple and one of my favorites!  It's basically just using the page where you clean off your stencils on.  Add some stamps, some charcoal pencil for shading and whallah!  Yup that simple!  Who'd a thunk it!  I love the white space.  I'm always so intent on filling up all the page with color that I never realized just how beautiful that white space is!  So doing this more and what a great fast easy fun page to do.  :)


OK, another one of my favorite techniques and a definite Christy Riopel style and design page.  I love her canvas's using this technique.  I so am going to do this more and work with different color combinations.   Firstly, using a variety of different stencil patterns and color sprays, create patterns and colors on the back ground.  Then we needed to find a stencil or mask that was not detailed, like a window style, or freehand an image onto the page.  Gesso the whole page around the window image.  Looking pretty cool!  Add some paint or gelato's for shading around the image(s), and charcoal pencil.  Add some background stamps for added pattern and a saying.  Love this!!!


Last one to try to remember.  This is another one of my faves!  An easy fast page to do and yet so beautiful!  Gesso the page to start.  Using gelato's, create swirls, we used two colors.  Then spray water on top, lift the book and slam the bottom down on the table (have some paper towel down!!!) and create drip marks for the stems which will be for the flower.  Stamp a floral image over top of the swirled color and shade around it with charcoal pencil.  Add some background stamps, a saying, and some gelato's around the border to frame it in.  Done!  That's what I'm talking about!


Well, this weekend class with Christy was just absolutely the BEST ever!  I can't wait for her next visit to our city so I can do it all over again!  She is so creative and never brings us the same things each time around.  Always something new to learn and to develop new skills with.  I love it!   Here's a selfie with Christy and I!  ;)


I hope you enjoy my pages from this past weekend classes.  I know I can't wait to practice some of these new techniques and see what I can do with them.  :)   Time to get creative!!!

  photo HSSignature-1.png

Getting creative in class with Christy Riopel!


Well, this is the time of year when life gets super busy.  Fall time means work conference, Thanksgiving, Halloween, staff meetings, Xmas planning at work, and overall just a busy time of year.  All that translates into, not a lot of time to play!  Free time is at a premium limited time and I need to take advantage of the opportunity when I can.  So, when I heard that Christy was coming back to town to do another one of her awesome classes, I was all over it!  A months notice allowed me to be sure to book that time off and luckily the cards played in my favor at work and I was able to take that weekend to attend her class.  I was ecstatic!  You have no idea!  Nothing makes me do the happy dance like getting inky and playing with amazingly creative people.  Fun fun fun...

The weekend consisted of learning a bunch of different techniques and resulted in a lot of pages getting done.  Yaaaa Baby!  I have always done my art journaling in the large Dylusions book but decided to purchase and use a smaller art journal this go around and I am so glad I did.  Though I love my Dylusions, the space on the page is huge and hard to fill sometimes, so unless you have a plan on how to utilize all that space it can be really intimidating and time consuming.  I would spent up to a full day, 7-8 hrs, on a page till I was satisfied with it.  A daunting task when time is so limited.  So to be able to do an art journal page in under a couple of hours in a smaller book makes it not so challenging to find some time in an evening or weekend where I can just sit down and create something start to finish instead of in intervals like in the larger journal book.  This in itself makes me a happy girl.  :)  This blog page is gonna be long and it's as much for me to remember the key things I learnt so I don't forget.  My memory isn't so good these days.  Gotta love mid age!  ;)

One of the first pages was using a stencil and gesso'ing thru it to create a resist.  Then spraying with your choice of color sprays to create a background.  Using a baby wipe, wiping the background to pick up the color from the gesso'd portions to reveal the stencil pattern.  I did the Prima circles stencil and Dylusion sprays in a 3 different tones of blue.  The result was a background that looked like planets and stars, and I took my inspiration from that.  Then we ripped different patterned papers to create a landscape type feel.  Chose our stamps and saying.  Finished with some gelato's for shading. And whallah....a page is born.


The  next page was fun using the Izinks.  Great!  More fun stuff to buy.  We gesso'd the page to start to seal the paper so we could move the ink around the page.  I picked out my colors I wanted to use (bought some more colors, oh boy!) and added a few drops to the paper.  Once all the color drops were down, sprayed with water and time to get inky with the fingers.  Using a tapping motion I moved the colors around till I was happy with the background.  LOVE!  Then drew the stems with a charcoal pencil and smudged it a bit for some shading.  Cut some leaves and glued them down with a matte medium and charcoaled around the edges.  I found a small petal flower and stamped it on top to create a flower, but I wasn't happy with the stamp I chose, too small.  So I took my black Izink and drew randomly, circles around the flower.  Yup, like that much better. Added my saying.  The little black dots were improvised after class cause I felt like the page was still lacking something and I wanted to use another new product I invested in called irRESISTable by Imagine.  Super cool!!!


I love love love this next one we did!  I need to find some BIG chipboard letters.  I think I used to have some but put them into a garage sale bin... not sure if it sold or not, going to have to go hunt and see if they still exist in my life!  NOTE to self.... do not sell or throw away anything cause you might come across a use for it some day!  It may take years but... you will find a use eventually! LOL By laying down the letters where we wanted them we could then splatter color around it leaving a white image.  After tracing the letters onto the page where the white space was we could then gesso inside the letters to white out any over/under splatter and I found any color smudged creating a cool effect.  Charcoal pencil was used to shade around the letter to create dimension.  I found my stamps I wanted to use and stamped them down.  (Now this page is not representative of how I feel about snow... LOL)  I used my water brush and some of the same color Dylusion sprays and did a light color wash over the snowflakes and the penquins toques.  Then we created a border around the word to frame it in.  This page is so darn cute!


Ok, now I have to admit I altered this page a bit.  Sorry Christy.  The effect was really cool.  I liked the technique we learnt but I felt it was too bulky for my book... so when I got home I changed it.  We had taken toilet paper rolls and flattened them, cut strips and glued them down to create a pattern that we wanted.  I did a wheat pattern cause it reminded me of my Dad.  He was a farmer and when he passed we placed wheat sprigs on his casket.  So this page is for him.  Once the strips were glued down we gesso'd the entire page and the rolls and then sprayed the page and let it dry.  It looked really cool!  But I think I cut the strips too thick and I couldn't close my book properly and it made it harder to work on the backside of the pages because of the thickness.  Soooooo... when I got home from my weekend, I took my Exacto knife and started to carefully remove the toilet paper roll strips from the page.  The paper tore in some places were the glue pulled off exposing white paper that wasn't gesso'd and in other places it left glue on the paper.  Kinda cool!  I grabbed my matte medium and sealed over top to seal in the rough tears and exposed paper.  Then I took my Fabre Castel india ink pen in a brown and ran around the wheat buds and smudged with my finger to soften the effect.  I love love love how it ended up looking!  So the toilet paper roll still served a purpose and created a whole different effect for me and my page that I am thrilled with!  I added some stamps and a saying.  The saying is multi toned because it tells me that even when you think you messed up like I did on this page, something wonderful can happen, as well as, this page being about my Dad, he guided me from above to not give up and create something wonderful.  Thanks Dad!


Warning!!!  In this next technique we learnt, paper towels were harmed in the making of this page! LOL  I love this technique and all I could think was oh great,,, another reason to hoard what I would normally throw away.  I need a bigger craft house.  LOL   So, lets see if I can remember everything I need to remember.  The idea is to use that roll of colored paper towel with all that pattern from blotted off stencils and stuff and transfer it to the paper.  So, you take the paper towel and separate it into a single ply and lay it down on a unprepped page.  Take the matte medium and brush on the page and lay the towel on top and then brush more medium over top to transfer the color thru onto the page.  Do NOT let the medium dry and once the color has started to transfer lift the paper towel off the page and the pattern and color has transferred with the texture from the paper towel onto the paper.  Super cool!  Then the idea was to stamp on an image with a lot of white space onto the page and gesso inside the lines to mute the colors and semi white out the inner ground.  Some of the pattern and color will shine thru and create this really neat effect.  A charcoal pencil was used to create crisp lines and smudging again.  Then we used gelatos or paint to created shading around the images.  When I got home I wasn't thrilled with where I stamped my flowers and felt it left a lopsided feel to the head and a disconnect on the opposite side.  So I created a few more mini florals and painted and gesso'd to try to recreate a similar effect, cut them out and using dimensional glue dots added them where I wanted them.  Yup, happier now!  :)


More pages to show and techniques that I need to remind myself of... so I'm going to go to a part 2 and post a second blog page on all I learnt.  Once I'm done my blog pages, I think it's time to get inky and put some of these techniques into practice on my own.  :)  

To all my Canadian friends, I am thankful for the men and women who served, sacrificed and gave us the freedom to be able to live such full lives.  This Remembrance Day, is a day to be proud of those who served to keep us FREE.


 photo HSSignature-1.png

Sunday, October 5, 2014

Tell, show, involve

Hellloooo... 2 posts in one day!  Whoohoo...   I wasn't sure where this page was going to go when I started but I have to say I think this is one of my faves.  The pictures do not do it justice, the lighting was all wrong when I took the pics so it looks all faded.  Oh well.  I used Dylusions inks, stamps, and sentiments.  I also played with my new Ferro pastes.  Love these!!!  I plan on accumulating all the colors I can.  :)  

My background came together using the sprays thru the leaf stencil and also as a reverse mask with the remainder of the color.  I built up the layers and then used both white and black charcoal pencils to accentuate the leaves that I wanted to pop.   The girl is colored with Fabre Castell India ink markers, love these!  The clock/bee is a Crafter's Workshop stencil with my new Ferro graphite paste!  LOVE!  And the florals are a Prima stencil I think, but I wanted to try to achieve a different texture so I mixed some Liquitex clear bead texture gel with some copper Ferro paste to add color.  When it dried the Ferro gave it some opaqueness but the beads are still prominent in the texture.  Loved how that turned out.  :)


Hope you enjoy this page as much as I had fun making it.  :)  Not sure when my next posting will be since this time of year gets super busy with work but I am hoping to find some time in the next month to work on another page even if it is in segments here and there.  :)  Thanks so much for stopping in and taking a peak.  Would love it if you leave me a note saying you popped in the say Hi!  :)  


 photo HSSignature-1.png

September Dylusions facebook challenge


I'm alive!  Yes, indeed I am.  Feels like forever, well it has been, since I have posted anything on here.  With that being said, I have managed to find a little bit of time to work on a couple of projects that I will be posting today.  I joined a group on facebook called 'Dylusions facebook challenge' and for September the prompt was to use the colors pink and teal and leaves.  I found this challenge to be a true challenge.  Was not feeling inspired at all, even seeing all the wonderful entries throughout the month I couldn't find the spark I felt I needed.  I worked on the page bit by bit until it came to be what it now is.  Not 100% satisfied with it, but it was the best I could do.  Sometimes the frame of mind just needs to be there and I guess mine wasn't at that moment.  

I used Dylusions sprays Jaded green and Bubblegum pink.  The leaves and the sentiment were from Dylusion stamp sets, however the flowers were a stencil and texture paste.  The snowy effect towards the top of the page is from Golden Opaque flake paste.  I spread it on using an old credit card. 


Please leave me some love, would love to hear from you.  :)   See you on my next post!  :) 


 photo HSSignature-1.png

Thursday, July 24, 2014

Summer holiday playtime


Oh my gosh!  Where does time go?  I managed to sneak away for a week to the wilderness of northern AB to our second home.  It was so relaxing and peaceful, no cell phone, no telephone, no husband... just me, the squirrels and the deer.  :)  I did a little bit of art journaling up there but as peaceful as it was, I was having a hard to getting inspired.  Like WTH... if there is anywhere to be inspired the trees, and the lake, and the wild life should have been the place for that.  I did a couple of pages but they didn't seem finished to me.  So, after coming home and getting back into the real world and full time work again I was unable to do anymore to them until today.  While the skies thundered and the rain poured down and the winds blew, I retreated to my play room and opened up my journal to those unfinished pages and got to them.  :)  I finished the two pages I had worked on and did a third page with some of my new finds from Tim Holtz's summer treats!  :)   Since it's been almost 2 weeks since I initially worked on them, I don't have a clue what I did.  LOL  So, I'm just going to post my pages with a basic list of what I used this go around and hope you enjoy them.  :) 

Here is the first page I worked on.  The background was done with Lyndi stamp gang sprays, the stamped flowers where colored with dylusions, the leaves are Dylusion stencils colored with archival inks, and doodling done with Uniball white gel pen, FC big brush Pitt pen white/black/red, black gel pen, and variety of stamps for the hummingbird and the script.


My second page.  I used Liquitex acrylic paints for the background.  There was a bit of bleed thru from the opposite page on the right side but I liked it.  Added a bit of character to the background.  :)  The houses were Unity stamps and colored with FC Pitt pens, the mushrooms I actually hand drew (my first attempt at drawing), Dylusion board stamps and words, and stickers for the bugs colored with FC big brush Pitt pens, and doodling done with Uniball white gel pen. 


My third page that I did today using my NEW TH sea and sand dies.  ;)  The background started off as a page that was used to clean off the reverse image from a stencil and when I gesso'd overtop it created this amazing soft blue background that reminded me of water.  I saved this page until I was able to get the sea and sand dies so that I could do an ocean page.   I used FC big brush Pitt pen in white to draw circles for the bubbles, and a teal pitt pen to outline the bottom half of the bubbles.   The sand dollar was colored with TH distress paints, embossed with distress powder and distress inks for antiquing.  The sea horses are distress paint, crackle and distress stain.  The underwater plants is the TH tree branch die cut up and trunk removed and painted with distress paints and distress embossing powders.  The words are stamped with random letters to make the phrase and distress stain and distress ink to color the paper. 


Thanks for stopping in and I hope you enjoy my pages.  I had fun today working on my art.  Felt good to refuel and play again.  Would love to hear from you.  :) 

Here are a few shares of my time at my home away from home.  :)


 photo HSSignature-1.png

Monday, June 23, 2014

Be your own kind of beautiful

Hi all!  I'm back with my first mixed media art canvas done on my own.   So excited.  I like it and can't wait to hang it somewhere once I have the sides finished and get it sealed.  :)  This was fun and fast.   I used a number of different embellishments from Tim Holtz, prima flowers, some Michael's metal embellishments, a Dusty Attic sentiment, and a butterfly from the dollar store.  I also used a couple of Crafter's Workshop stencils in script and the time clocks with Wendy Vecchi embossing paste.  I colored it all with Lyndi stamp gangs sprays.  Here are some photos from the beginning to the end result.  :)


I gesso'd the whole canvas and embellishments before spraying. 


I finished the tips of the flowers, the sentiment and the metal embellishments along with the script embossing with Viva Inca Gold in old gold for some bling.


Thanks for stopping in and taking a peak at my newest project.  I appreciate the visits and would love to hear from you.  :) 
 
 
Until next time....
 photo HSSignature-1.png